Tampilkan postingan dengan label mason jar crafts. Tampilkan semua postingan

Selasa, 26 Maret 2013

, , , , , , , ,

Bohemian Beaded Colored Mason Jar Tutorial


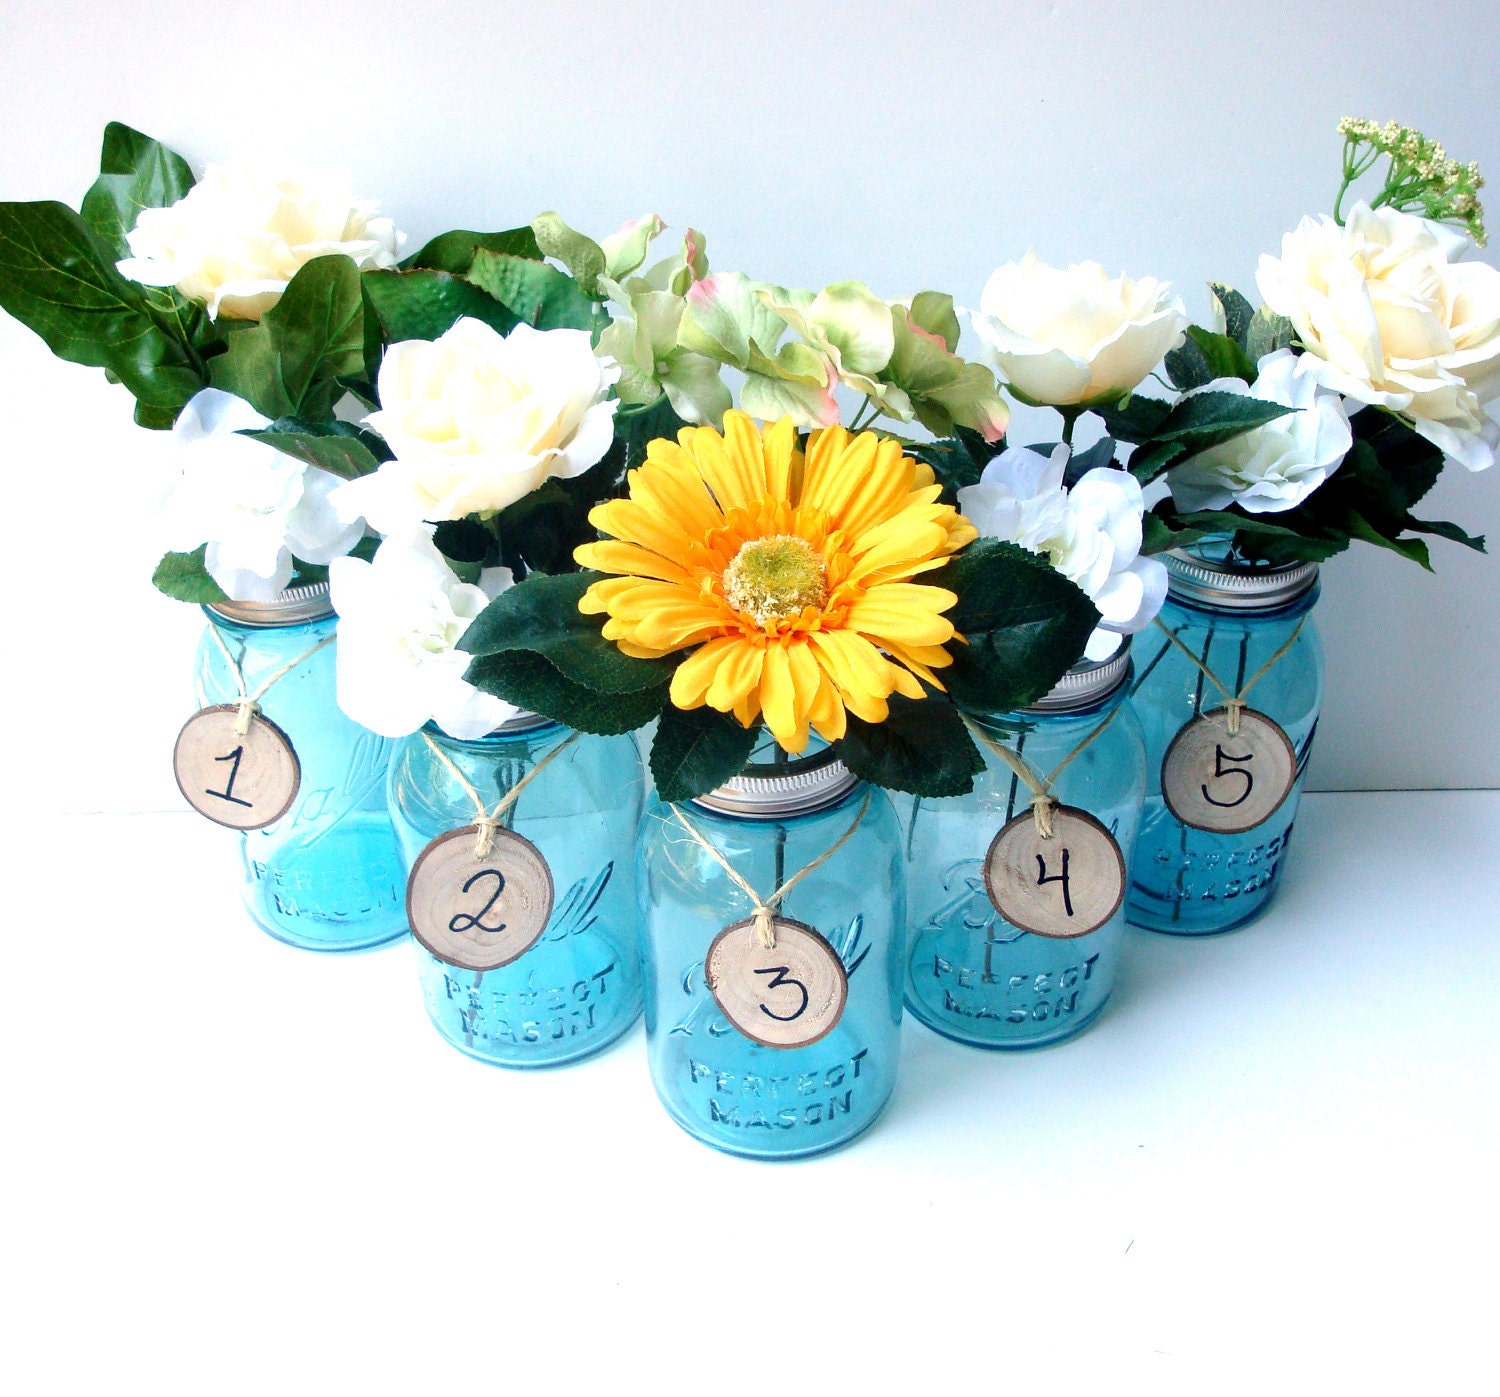
In my last post, Colored Glass Mason Jar Tutorial, I demonstrated how to 
create extremely cool and stylish colored jars with Mod Podge and food coloring. 
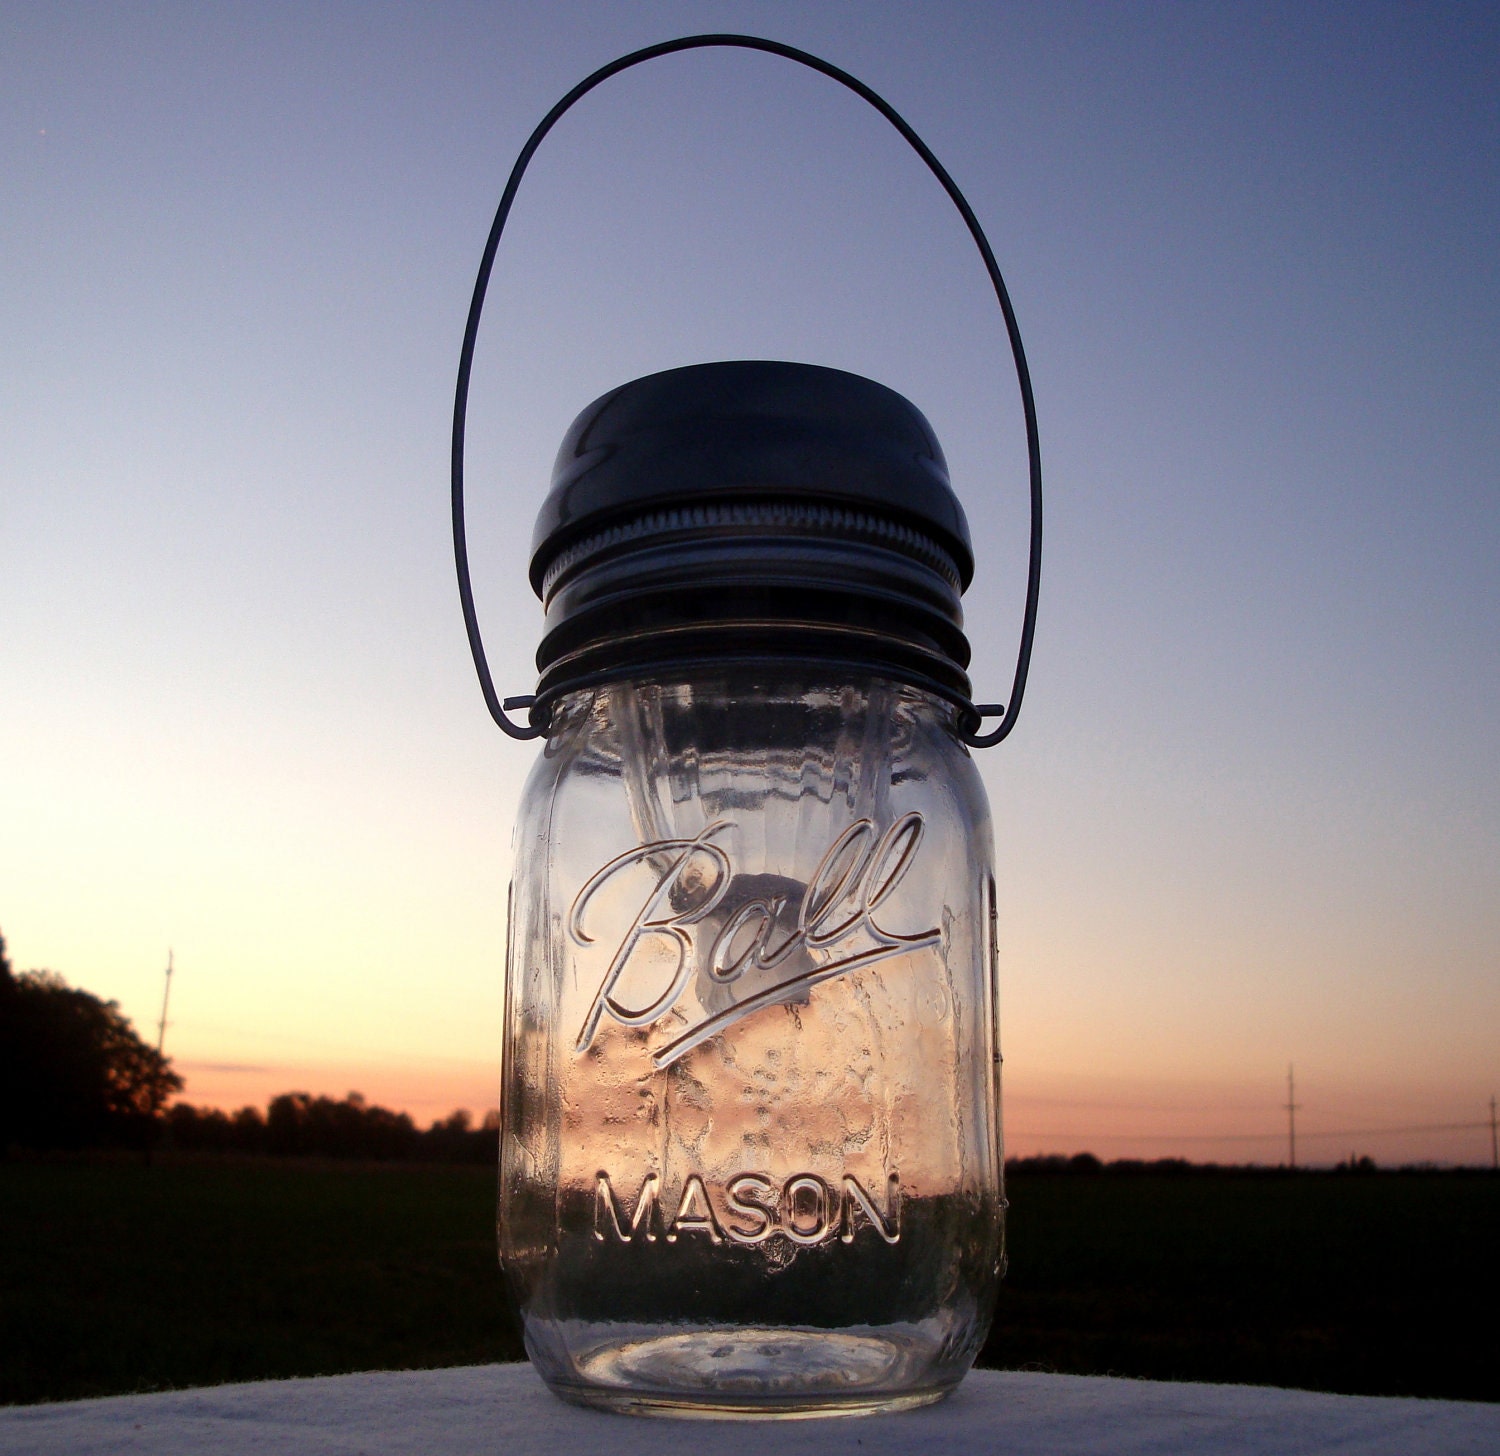
Now, take it a step further and dress up those pretty jars with some wire
 and beads and turn them into beautiful Bohemian hanging jars...


First, gather your supplies.  
Here is what you will need:


Craft wire (I used 20g around the jar and 26 g for the beads)

Craft chain (I used jewelry chain) and Jump rings (5-6mm) 


A variety of coordinating beads


Jewelry pliers - any type, small


Directions for adding wire & chain hangers to the jars: 


1. Cut a 3 foot length of 20 gauge craft wire and wrap the wire around 
the rim of the jar below the lip. When you get to the end of the wire, 
twist it together with the beginning end of wire until both ends are 
secured together, and then snip off any excess wire. Tuck any pointy 
wire ends against the jar with a pair of pliers. 

(Note: if you are going to add beads to your jar, do this before adding the chain hangers)

2. Measure and cut four equal lengths of chain. I made each of mine 8 
inches long. Attach lengths of jewelry chain to the wire with jump rings. 


3. Gather together the four lose ends of chain and attach together 
with another jump ring or with a piece of wire and close. 


To decorate your jar with beads:


4. Now cut another long piece of thinner, 26g wire (long enough to wrap around 
the neck of the jar a few times) and do the same thing you did before, wrap the wire 
around the neck of the jar, but this time, first secure the beginning of your wire 
to the wire that you already wrapped around the jar. Now add beads to 
the wire as you go along. 


I strung about 4 to 5 inches of beads and then stopped and wrapped my wire 
around the existing wire to secure it, then I continued, adding another 5 inches 
or so of beads, then again stopped and wrapped the wire to secure it, then added
 more beads, and so on. When you get to the end of the wire, wrap it around 
the wraps and tuck in any pointy ends with a pair of pliers.


5. You can also use additional pieces of wire or headpins to 
create beaded drops and attach those to your jar. 


6. Now attach your chain hangers as described above in step 2.


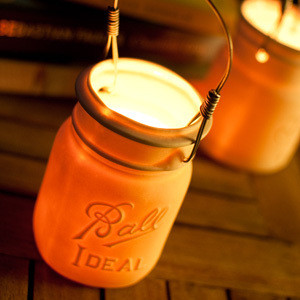
That's it! Hang in a sunny window. 

You can use this as a candle holder, but do not put the candle directly 
into the jar. Instead, place a candle inside a glass votive and then place 
the votive inside the jar. Not made for holding food or water unless you
use some type of liner inside the jar. 


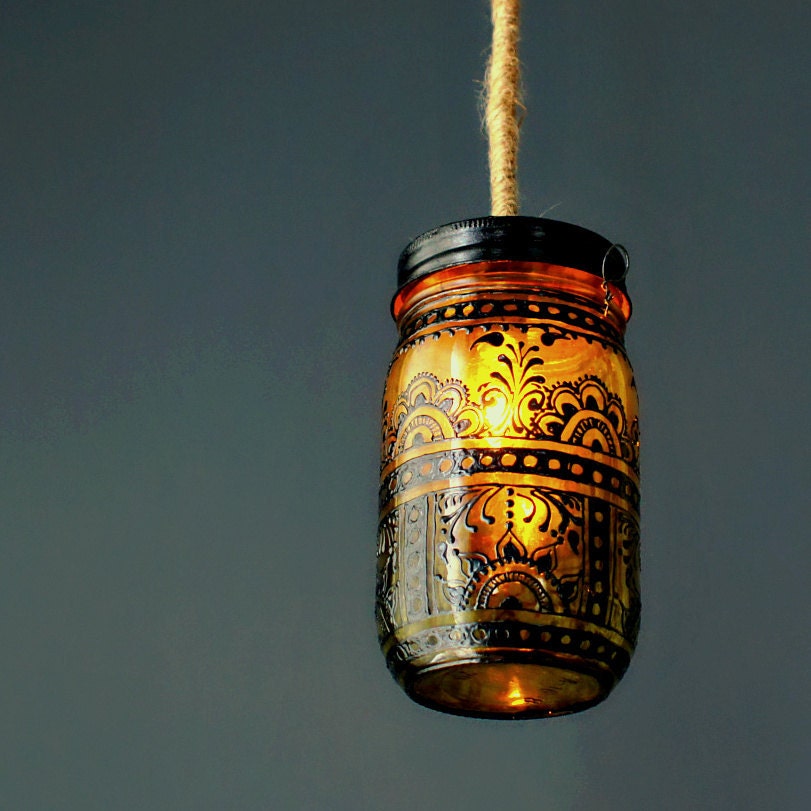
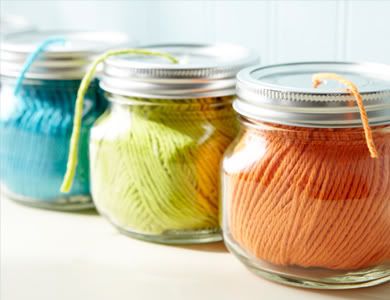
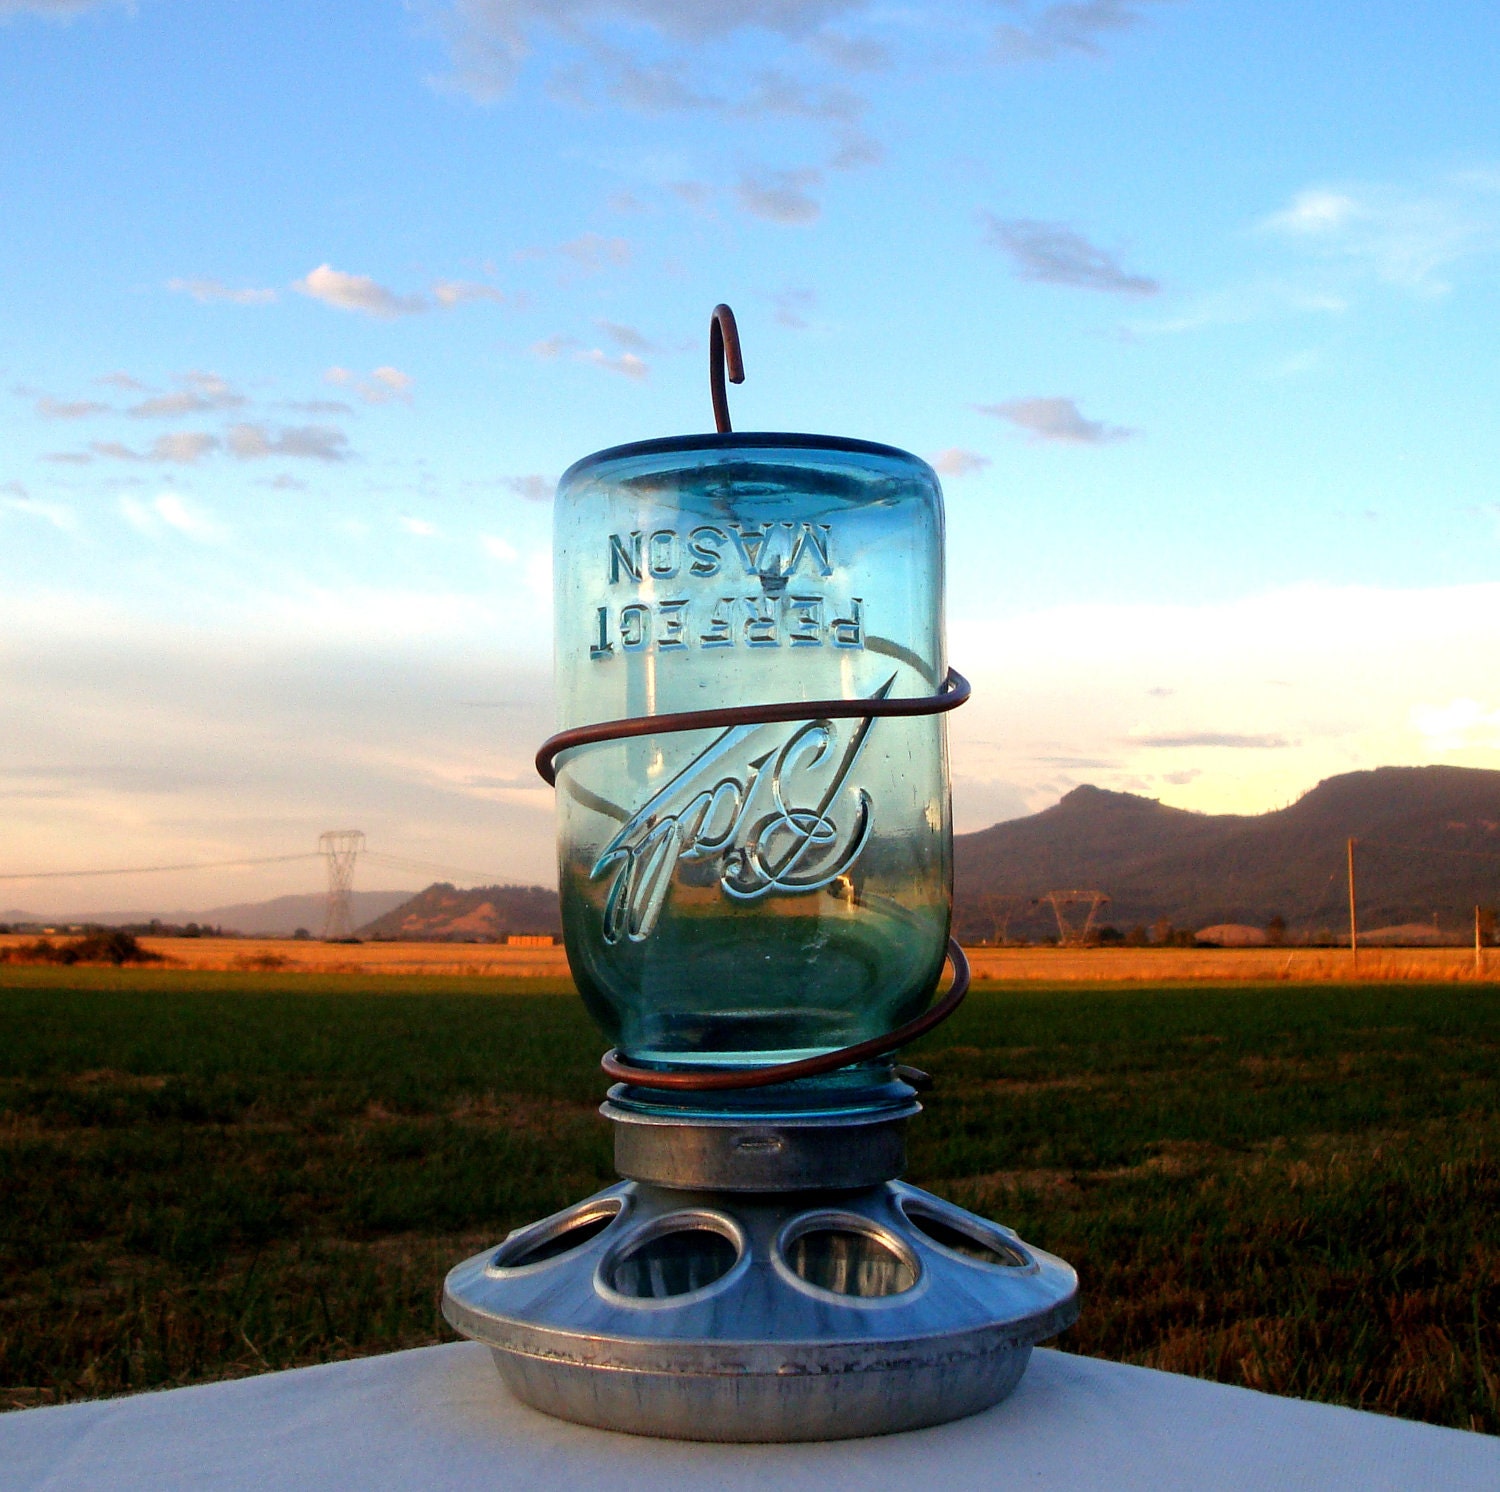
This was my inspiration photo...


What do you think?


This DIY copyright Laura Beth Love 2013


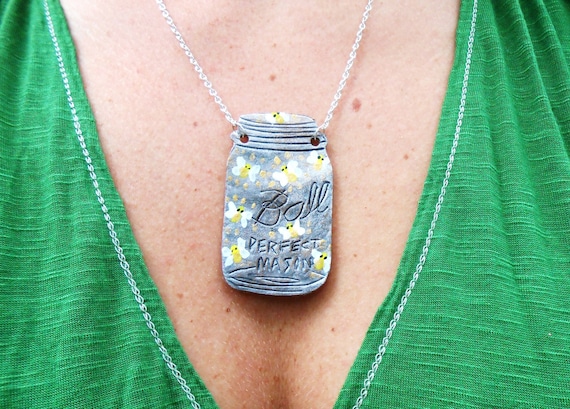
Check out my new Boho Chic jewelry book!


Sabtu, 23 Maret 2013

, , , , , , , , , , ,

Colored Glass Mason Jar Tutorial


What could be prettier than colored glass? 
With this tutorial, I'll show you how to easily turn any
ordinary glass jar into a colorful work of art with just three
 supplies that are available at your local craft store.  
Ready? Let's go!


First, gather your supplies.  
Here is what you will need:

Glass jars. Any size or type will do.
 The jar above is an 8 oz. standard jelly jar. 
The jar below is a larger standard shaped canning jar. 
Make sure your jar is clean and dry!


Food coloring. I used gel icing color from Wilton in Rose, Teal, and Violet. 

Mod Podge Gloss

Note: You can use Mod Podge Matte for this project but be advised 
that once it dries the results will be semi-transparent, or cloudy. 
Use the Mod Podge Gloss for a transparent, stained glass look. 

 
A paper plate or large piece of waxed paper.   Craft sticks for mixing your mixture.


Directions for coloring the jars: 

Note: The amount of Mod Podge that you use will depend on the size of your jar. 
The directions below are for a standard medium-sized (8oz) jelly jar.

1. Pour about 4 - 6 Tablespoons of Mod Podge Gloss into your jar and using a craft stick, 
mix in a small amount of food coloring, adding more food coloring until desired 
shade of color is achieved. I used about 1/8 teaspoon of food color in an 8 oz. jar. 
Mix well, until the food coloring and Mod Podge are completely combined. 
Be careful not to mix so vigorously that you create air bubbles. Easy does it!  


2. Your mixture will be opaque while it is wet, but will dry transparent. 

3. Once mixture is completely combined, remove the craft stick and slowly roll 
the jar with your hands to distribute the mixture over the entire inside of the jar. 
Do not use your craft stick or a paintbrush to help spread the mixture. 
Allow gravity to do all the work. 

4. Once the inside of the jar is completely coated, pour out the excess mixture 
and wipe away any drips around the mouth of your jar. Turn the jar upside down 
and onto a paper plate or piece of waxed paper to allow any remaining mixture 
to drain from the jar. 


5. Once the excess is drained from the jar (I drained mine for about an hour), 
turn the jar right-side up and set aside to dry. Drying time varies depending 
on your room temperature. I worked next to a hot pellet stove, so my jars 
dried in about 4-6 hours. In normal  or damp conditions, it could take 24-48 
hours for your jar to completely dry. 

Finished jar made with teal coloring

Didn't like your results? Simply soak the jar in warm water
to remove the color, wash the jar and try again! 

Use jar as a candle holder by inserting a glass votive with a candle inside the jar 
(do not put candle directly inside the jar.)  Because the color is water-soluble, you 
can only use this as a vase if you insert a liner. 


Finished jar made with violet and rose coloring 
(above and below)

The dark areas on the jar above were still drying.

Finished jar made with rose coloring 


Wait! Come back!
Be sure to check back soon for the second part of this post, 
where I'll show you how to decorate your jar with wire and beads!


What do you think?


Rabu, 11 Juli 2012

, , , , , , , , , , , , , , ,

DIY Mason Jar Crafts & Home Decor


Mason jar crafts for foodies and crafters, for weddings and home decor, for organization and storage...for anything!


Halloween mason jar terrarium from Today's Creative Blog


Paint the inside one color, then the outside another, and distress it a bit with sandpaper.
Pretty hand painted mason jar from Theshabbyshore via etsy


Mason Jars for Foodies...


Mason jar drinking glasses from Eat Drink Pretty


Great idea for summer picnic parties


Very Very Berry (medium)

Pie of the Month Club - 2 Pies (6 months)


50 ways to re-use/repurpose glass jars by kendra


Mason Jars for Home Decor and Crafts...


Hanging mason jars from Pottery Barn. Easily make your own with wire.


mason jars by vivian


Pretty fabric lined mason jars from Fellowfellow


Hand Painted Mason Jar Lantern,Canary Yellow Tinted Glass with Black Accents


Mason Jar Solar Light Lantern LIDS - Set of 4 - High Quality


Antique Blue Mason Jar Vase Centerpieces Table Numbers With Flower Frog Lids - Set of 5


DIY Mason Jar 'Glitter'arium | Intimate Weddings - Small Wedding Blog - DIY Wedding Ideas for Small and Intimate Weddings - Real Small Weddings


Mason Jar Organizer Mason Jar Organizer Mason Jar Organizer
Mounted jars are great for storage and organization!


Miniatures in a jar by Salt Tree


DIY tutorial for glow stick jars from Intimate Weddings


Mason Jar Soap Dispenser with Copper Metal Pump - Quart Jar Lotion Bottle - Mason Jar


Upcycled Rustic Country Antique Blue Mason Jar Bird Feeder With Copper Hanger


Mason jar Jack O' Lanterns. Use as votives once the candy is gone! 


Mason Jar Necklace - Firefly's In A Jar - Hand Tooled Leather


What do you think? 

Which is your favorite?


Pin this post!