Tampilkan postingan dengan label how to. Tampilkan semua postingan

Senin, 12 November 2012

, , , , , , , , ,

Neat Things You Can Make With Cookie Cutters


I love cookie cutters because they're one of those personal things that I associate
with my mom, my grandmother, and family traditions. I come from a family that
loves to bake, so baking implements seem to hold a place near and dear to my heart. 

I love old fashioned cookie cutters, the handcrafted type, I like their simplicity,
their usefulness, and their handcrafted charm. I like the way cookie cutters remind
me of times spent over the years with my mother, baking for the holidays.
I like the memories they bring back, and also the idea that I'm helping create
those same memories for my daughters when I bake with them.

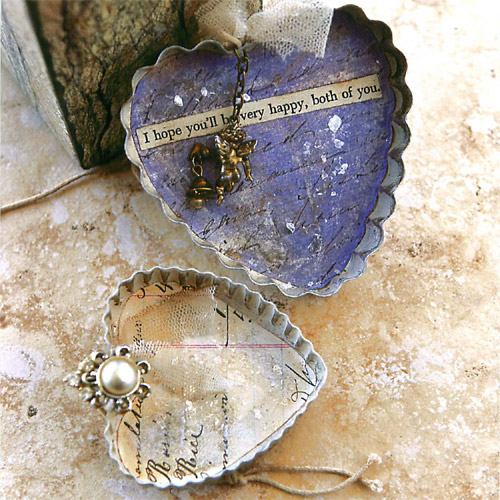
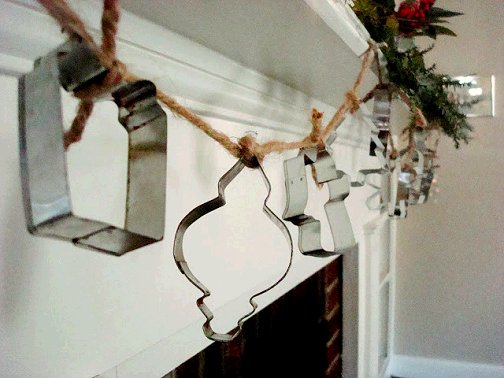
Check out these new ways to look at cookie cutters and maybe you'll be inspired
to create your own cookie cutter masterpiece! 
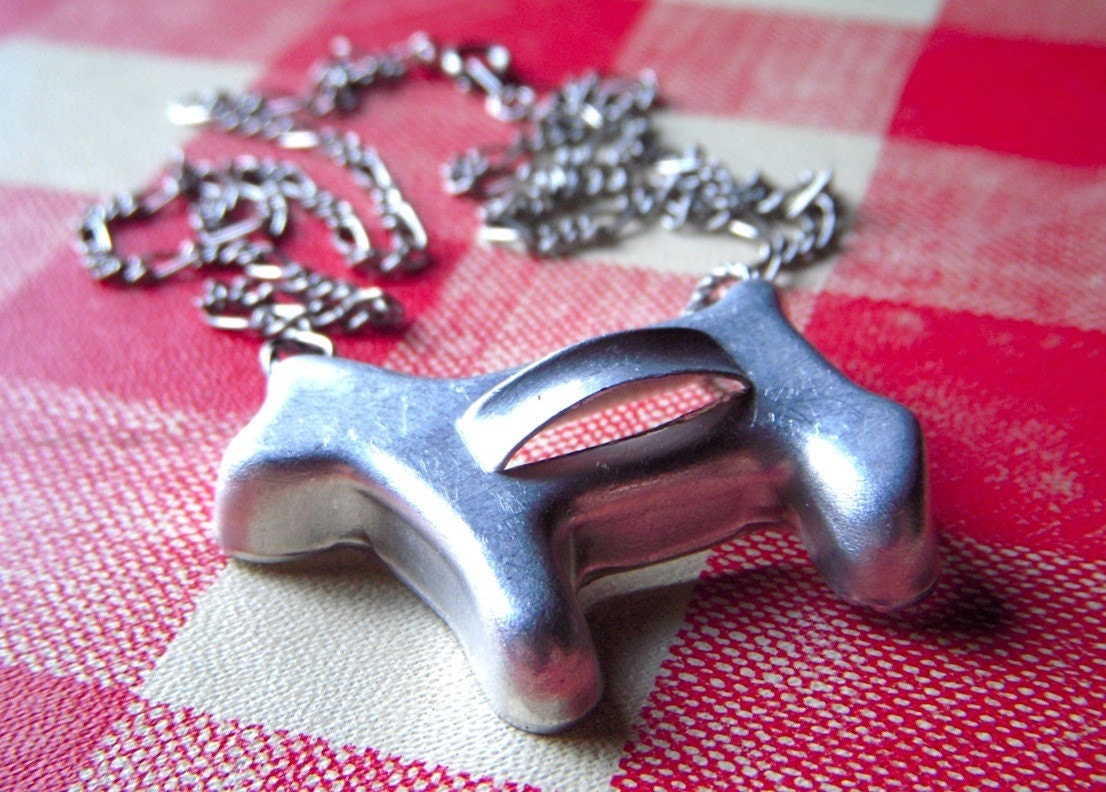


Tiny Dog Cookie Cutter Necklace Vintage 1950's - 60's Kitsch Baking Toy Assemblage Jewelry


Cookie cutter as a napkin ring from Martha Stewart


Create your own glittered Halloween ornaments or visit The Merry Magpie to purchase!


Cookie Cutter Christmas Wreath
Cookie cutter wreath from BHG


Easter cookie cutter craft from Hambly Screen Prints


cookie cutter 7


Pin this post! 


What do you think?


Check out my new book!


Sabtu, 03 November 2012

, , , , , , , , , , ,

Bohemain Mother Of Pearl Button Necklace Tutorial


I've had these old mother of pearl buttons lying around on my workbench just 
waiting to be made into something special.  Before I turn some of them into a home 
decor project though, I picked the nicest ones out and decided to turn them into a
beautiful piece of Bohemian button jewelry. Check it out! 


I measured and cut a length of sterling silver chain


 I cut some 3 to 4" lengths of sterling silver wire


Threaded a wire through a button hole then bent into a U shape


Pressed the wire snugly against the button


I wrapped the shorter end of the wire around the longer end


 I then created many!


I found the center link of my chain and attached the first button with a wrapped loop


Then I attached the rest of the larger buttons, equally spaced on the chain


Then I added the smaller buttons


Then I gave each one an extra wrap of sterling wire, nice and thick


Deciding whether to add some Amethyst or Apatite gems... decisions, decisions! 


I wrapped a few blue Apatite briolettes and then decided to add some crystal clear quartz beads too.


I love how these look like raindrops! I attached the quartz crystals to the buttons.


Almost finished... next this will go into Liver of Sulfur mixture to oxidize the silver...


Liver of Sulfur oxidizes the silver and turns it black


How it looks after the Liver of Sulfur bath...next it will be polished up with silver polish to bring out some of the shiny silver to create a nice contrast...


All polished up and finished!


I love how this turned out!


What do you think?


Pin this post!